
Last Updated on August 17, 2020 by Joy Editors
If you’re looking for a budget-friendly and gorgeous alternative for a traditional veil, you need to consider a flower crown. Not only are flower crowns one of the hottest wedding trends around, but they’re easy to make, affordable and fully customizable. So get crafty with this simple step-by-step tutorial on how to make a beautiful DIY flower crown that is just as affordable as it is stunning.
MATERIALS
- Floral sheers
- Stem wire
- Floral tape
- Flowers + greenery (of your choice)
- Ribbon
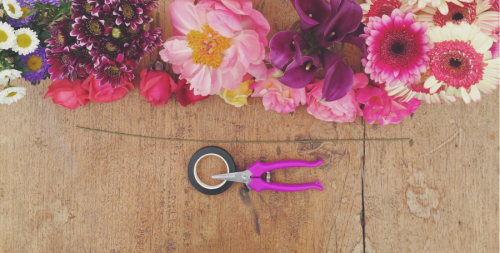
Photo credit: Leah Arnold-Smeets
STEP 1: ORGANIZE FLOWERS & GREENERY
To help you get a better idea of what you’re working with, organize your flowers and greenery by type, then cut the stems so they’re roughly 2 – 3 inches long. This will help you keep better track of your floral inventory when constructing your DIY flower crown. Then organize the greenery into little groups as well.
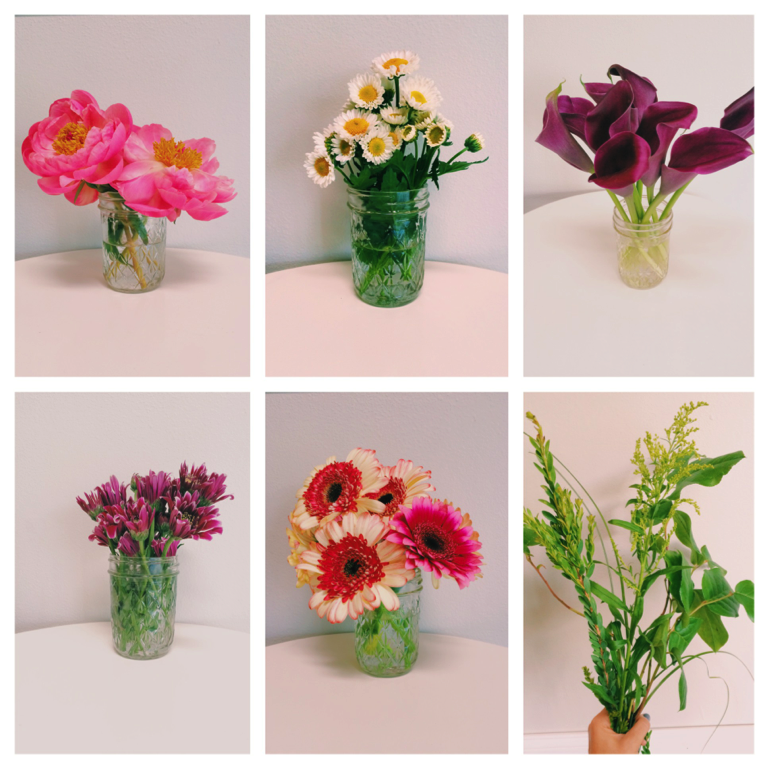
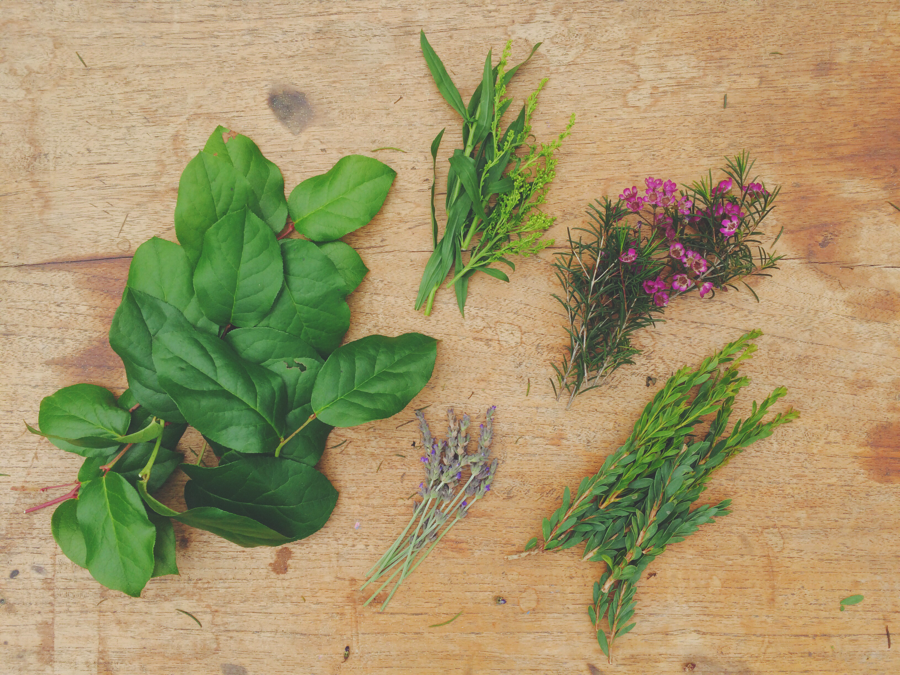
Photo credit: Leah Arnold-Smeets
STEP 2: MAKE TINY BUNDLES OF FLOWERS & GREENERY
To make it easier to arrange your flower crown, construct tiny bundles (like boutonnieres) of flowers and greenery that will make up the segments of the crown. There’s really no right or wrong way to arrange these little bundles, just be sure to incorporate one piece of greenery and one to two flowers in each to create a nice full crown when complete.
How to: Gather your bundle of flowers and wrap the floral tape tightly around the stems, being careful not to break the stems or damage the flowers. If you’ve never used floral tape before, don’t worry because the learning curve is very, very short. The tape is made so that it sticks to itself, so be sure to wrap the floral tape so it overlaps itself to ensure a nice, secure hold.
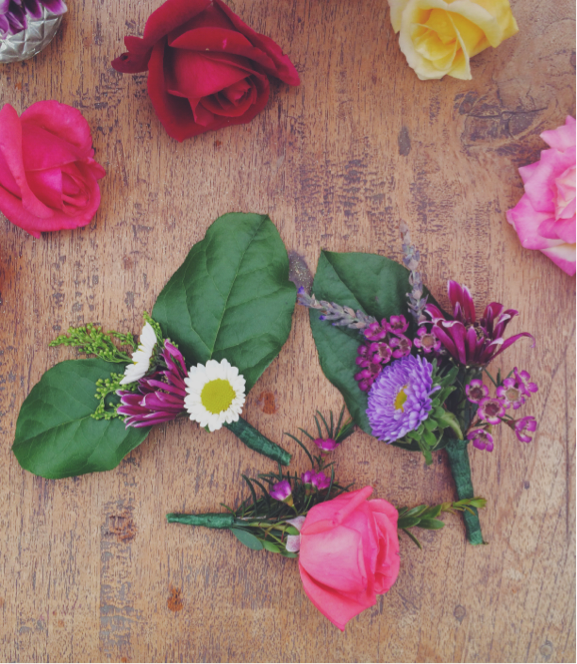
Photo credit: Leah Arnold-Smeets
STEP 3: ATTACH RIBBON TO STEM WIRE
To veer on the side of caution, it’s best to attach the ribbon to the stem wire. The reason you need ribbon is because the stem wire isn’t long enough to wrap around an average person’s head (this includes a child), and the ribbon also makes it easy to get the right fit after the flower crown is completed.
How to: Cut two pieces of ribbon that are about a foot and a half in length, each. (Keep in mind that it’s better to have too much ribbon that you can cut off later, than to not have enough.) Hold one end of the ribbon securely about three to four inches from one end of the stem wire. Get your floral tape and start wrapping a little above where your ribbon is being held, as to ensure that the tape is fastening to the stem wire first for a secure hold. Otherwise, if you start wrapping the tape on top of the ribbon rather than starting on the actual wire stem, you’ll find out quickly that the ribbon will continue to slip when you wrap the tape around it. Wrap the tape all the way to the bottom and repeat on the other end of the stem wire.
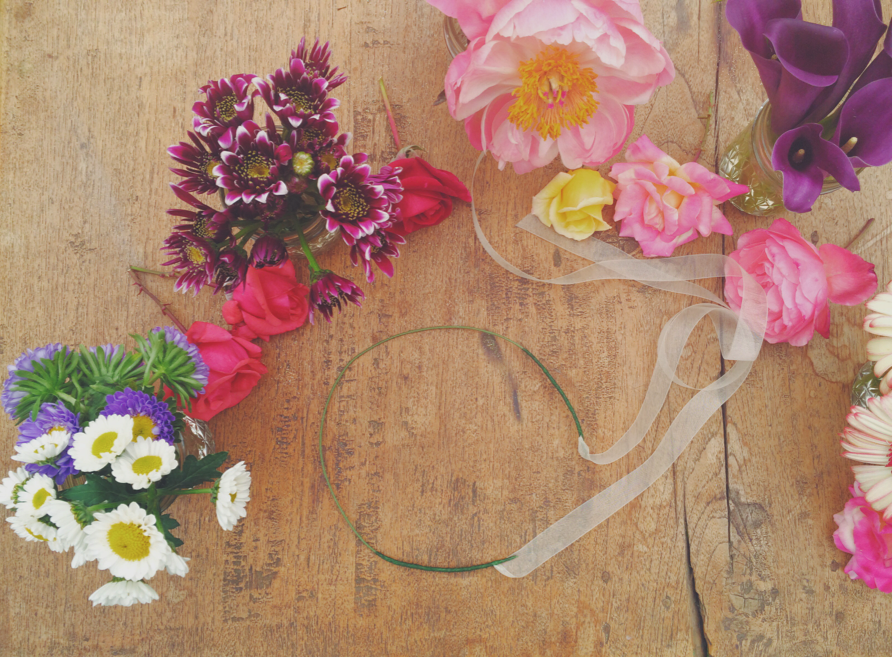
Photo credit: Leah Arnold-Smeets
STEP 4: ATTACH BUNDLES TO WIRE
Now that you have the base of the crown constructed, ribbon and all, it’s time to start attaching the flower bundles. Depending on whether you want a symmetrical or asymmetrical look, it’s best to start with a larger flower and then fill in the floral crown with your tiny bundles as you go.
How to: Secure your flower or flower bundle to the stem wire with floral tape (see picture below), ensuring that every piece is arranged in the manner you wish. For instance, consider the way the flowers will lay once the entire crown is constructed. You don’t want flowers facing backwards or greenery hanging in your face, so have a mirror handy when arranging your flower crown so that you can check your work as you go. A good tip is to imagine that there are two sections to the crown: a left side and a right side. Start with one side first, and then start on the other side once you’ve completed the first side.
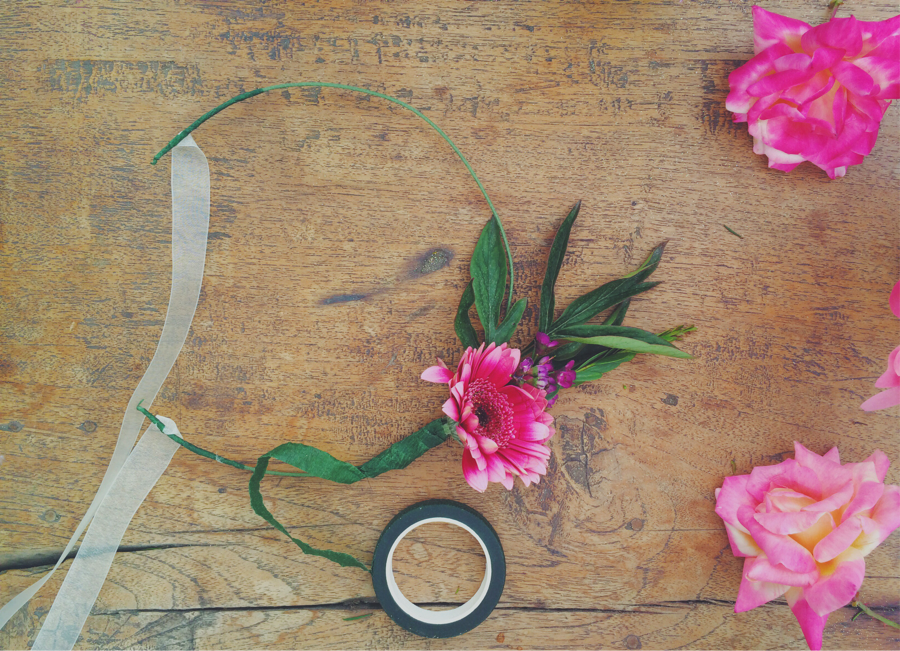
Photo credit: Leah Arnold-Smeets
Keep attaching flowers and greenery around the crown…
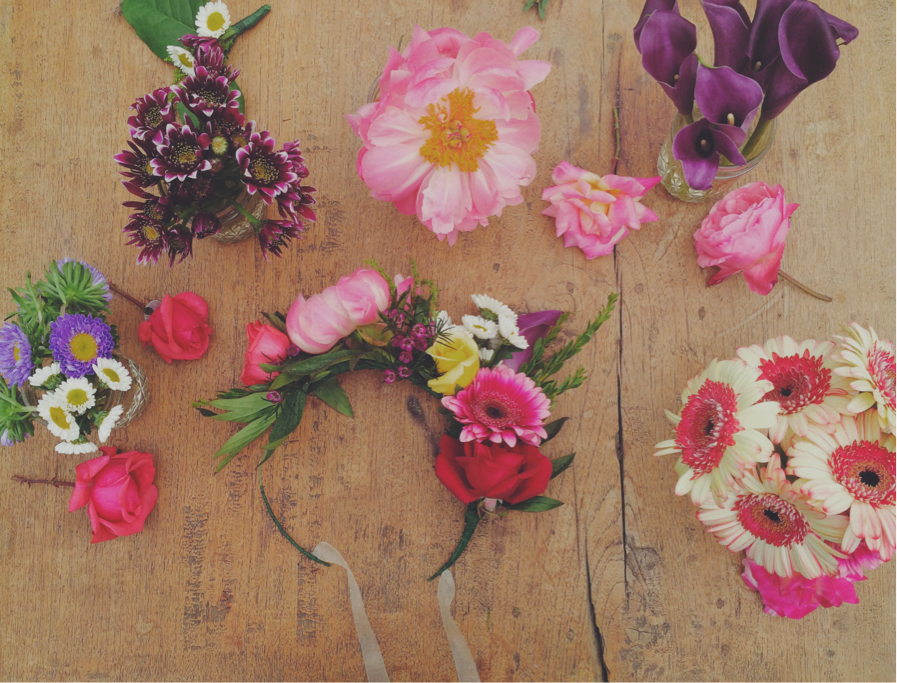
Photo credit: Leah Arnold-Smeets
And, voila! You have yourself a DIY flower crown that is to die for:

Photo credit: Leah Arnold-Smeets
And just how great it looks on this adorable flower girl!

Photo credit: Leah Arnold-Smeets