Last Updated on September 26, 2023 by Joy Editors
First impressions count — especially when it comes to wedding invitations. Thick, heavy envelopes with hand lettering immediately give off luxe vibes that let your loved ones know something special awaits inside. But there’s so much to do before you stamp and seal that outer envelope. Your wedding invitation is an opportunity to give wedding guests a sneak peek of your vision for the big day. Will your celebration be a formal black-tie affair? A boho chic fairy tale? As you get ready to begin this stage of the planning process, here’s everything you need to know about creating your wedding invitation suite, plus top tips for flawless etiquette, wording and design.
What’s Included in a Wedding Invitation Suite
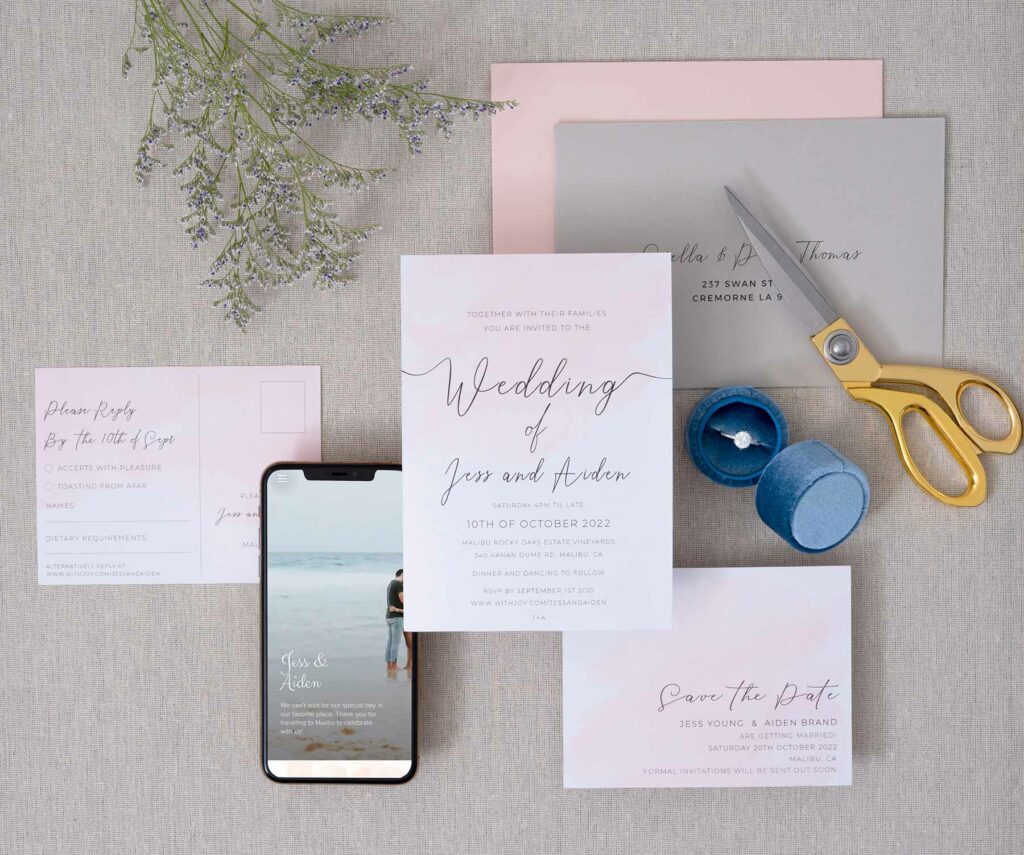
Sharing all the details of your big day can’t typically be done with a single card. A wedding invitation suite comprises all the paper goods you need to spread the word to loved ones. There are no hard and fast rules as far as what to include, so pick and choose pieces based on your needs. Here are the basic pieces of stationery you’ll find in a wedding invitation suite.
Wedding Invitation
This is the star of your wedding invitation suite. A wedding invitation not only includes all the important — the who, what, where and when — it also sets the tone for your big day. Everything from the shape and size to font and design can offer your guests insight into the type of wedding you’re planning.
Outer Envelopes
Also known as a mailing envelope, this piece of stationery is where you’ll include your wedding guests’ addresses, your return address and postage.
Inner Envelopes
More common with traditional, formal weddings, the inner envelope protects all the cards in your wedding invitation suite. While completely optional, this is also where you can list the names of individuals invited to your wedding.
RSVP Card
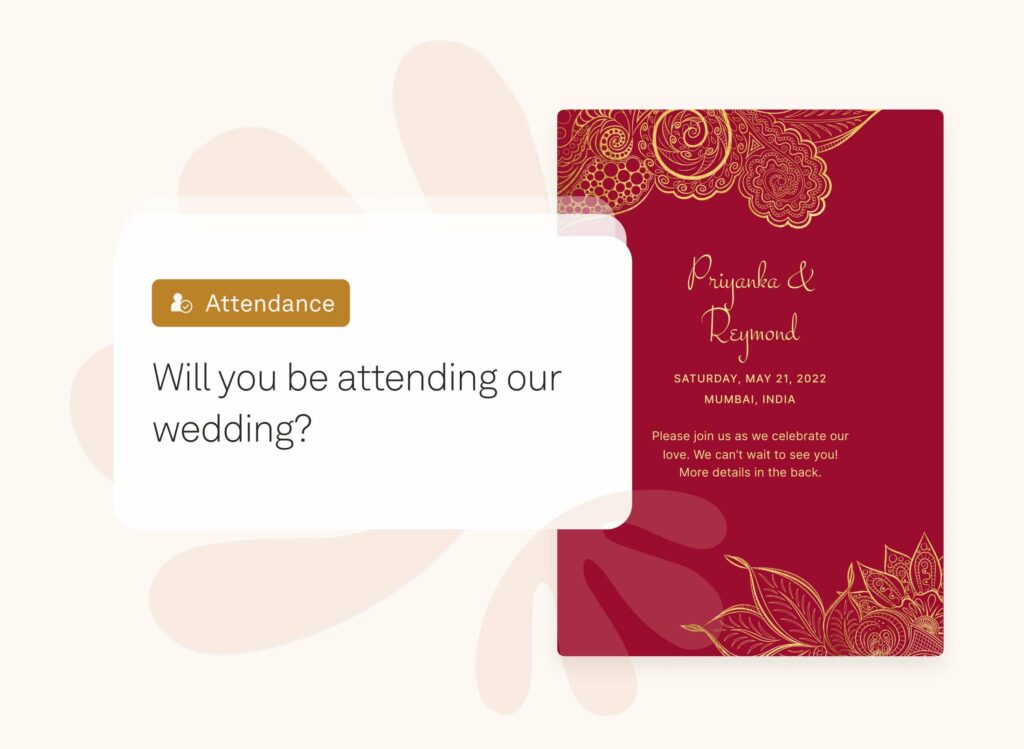
A response card is a critical part of any wedding invitation suite, even if you prefer to collect RSVPs digitally. These are smaller than an invitation and will often let guests know how many seats have been reserved in their honor. Don’t forget to include an RSVP deadline and directions for how guests should respond, whether it’s mailing the card back or visiting your wedding website.
Reception Card
If your wedding ceremony and reception are taking place at different locations, it’s common to include this small insert card in your invitation suite. It can include details that you don’t want on the main invitation, such as the venue address, if you’re hosting a cocktail hour and the start time for your reception.
Additional Enclosure Cards
Sometimes one enclosure card just isn’t enough. If you have additional details you want to share with wedding guests, you can always include more inserts in your invitation suite. These inserts could include information like your wedding website, a schedule of events for the weekend (assuming all guests are invited), accommodations and a map/directions.
Finishing Touches
These are all the optional “extras” that add a pop of personality to your wedding invitation suite. Think invitation wrappers like belly bands or ribbon, vellum overlays and envelope liners.
The Basics: Essential Tips for Getting Started
It’s always helpful to have a clear idea of timing and budget before you let your creativity run wild. As you plan out the perfect wedding invitation suite, keep these basic tips in mind to avoid any stationery mishaps or unexpected costs along the way.
Order invitations at least six months ahead of your wedding.
Don’t let time get away from you. While invitations should be sent to your guest six to eight weeks in advance of your wedding, the planning and ordering process begins much earlier. Depending on how complex your invitation suite will be, you’ll want to start the process at least six to nine months before your big day. By ordering early, you can avoid the headache of expedited processing and shipping fees from your vendor. You’ll also have more choices when it comes to bespoke elements like letterpress printing or envelope liners. Other personal factors that may increase this time frame include how long you’ll need to assemble and address your invitation suite.
Order extra invitations and envelopes.
Though you’ll only need to send one invitation to every household, always order extra in case any are damaged upon arrival, get lost in the mail or if you have last-minute additions to your guest list. Plus, it’s always nice to have a few as a keepsake of your wedding day! Even if your budget is tight, this is a worthwhile expense that can help you avoid rush order fees down the line. Plan to order around 10 to 20 percent more than you need. For example, if you have 200 loved ones on your guest list but only 75 households, you’ll order 90 invitations in total (75 to mail plus 15 extra).
Don’t buy stamps until the end.
Though you may want to buy a roll of stamps now, this is one wedding to-do item you’ll want to put off. Before dropping your invitations in the mail, take a fully assembled invitation suite to the post office counter to find out exactly how much postage you need. Factors like weight, irregular size and thickness can make a significant difference when it comes to the cost of mailing your invitation.
Tips for Wedding Invitation Wording
You don’t need to be Shakespeare to pen the perfect wedding invitation. As you sit down to put all the important details on paper, use the tips below to help you get started. For a complete step-by-step guide to wedding invitation wording, click here for examples and a breakdown of what to include.
Be clear and concise.
While you may want to show off your writing chops, don’t let it get in the way of actually extending an invitation to your big day. That means you may want to skip the cute rhymes, poems and other wording if it’s going to create any kind of confusion. Be as direct as possible, but that doesn’t have to mean boring. If requesting the honor of your guests’ presence isn’t your vibe, feel free to change up the language as long as you get your point across. “We’re getting hitched! Join us for booze, food and bad dance moves” can be just as clear as “You’re invited to the wedding celebration of John and Alex.”
Stick to the essentials.
How you communicate your request to attend can give your guests clues about the type of wedding celebration you’re planning. Language such as “the honor of your presence” as well as spelling out dates and times can indicate a more formal affair. Meanwhile, playful requests like “come for the love, stay for the party” can set the tone for a casual celebration.
Use your word choice to convey the formality of your big day.
Over-communicating might be your style, but don’t go overboard on your wedding invitation. Reserve that space for key details, like your names, a request to attend, the date and time, location and if a reception will follow. Everything else, such as more details about your reception, an RSVP deadline or your wedding website, can go on separate enclosure cards. Remembering this tip will keep your wedding invitation looking clean and uncluttered and ensure important information won’t get lost in a sea of words.
Tips for Choosing a Wedding Invitation Design
Your wedding invitation is a chance for you to make that dazzling first impression. Here are a few things to consider as you dive into the creative design process.
Make sure invitations are easy to read.
While stunning on their own, design choices like loud graphics or hard-to-decipher script fonts can actually take away from the guest experience. Your message should be the focal point of the invitation. If you have your heart set on a beautiful but busy pattern, consider printing it on the back of the invitation or use it as an envelope liner as a complementary accent.
If cost is a concern, keep the complexity of design and materials in mind.
Wedding invitations can be as simple or intricate as you’d like. But even if you don’t add embellishments like invitation wraps and envelope liners, your design choices and materials alone can lead to huge variations in cost. Digital printing, for example, will be significantly cheaper than letterpress or engraving. Accents like gold foil, debossing and embossing on important elements, like your names or monogram, can also add to the cost. Expect additional fees for other design choices, such as specialty die-cut shapes or painted edges. And while paper type doesn’t have as significant of an impact on cost as printing method, a heavier weight cardstock will come with a higher price tag.
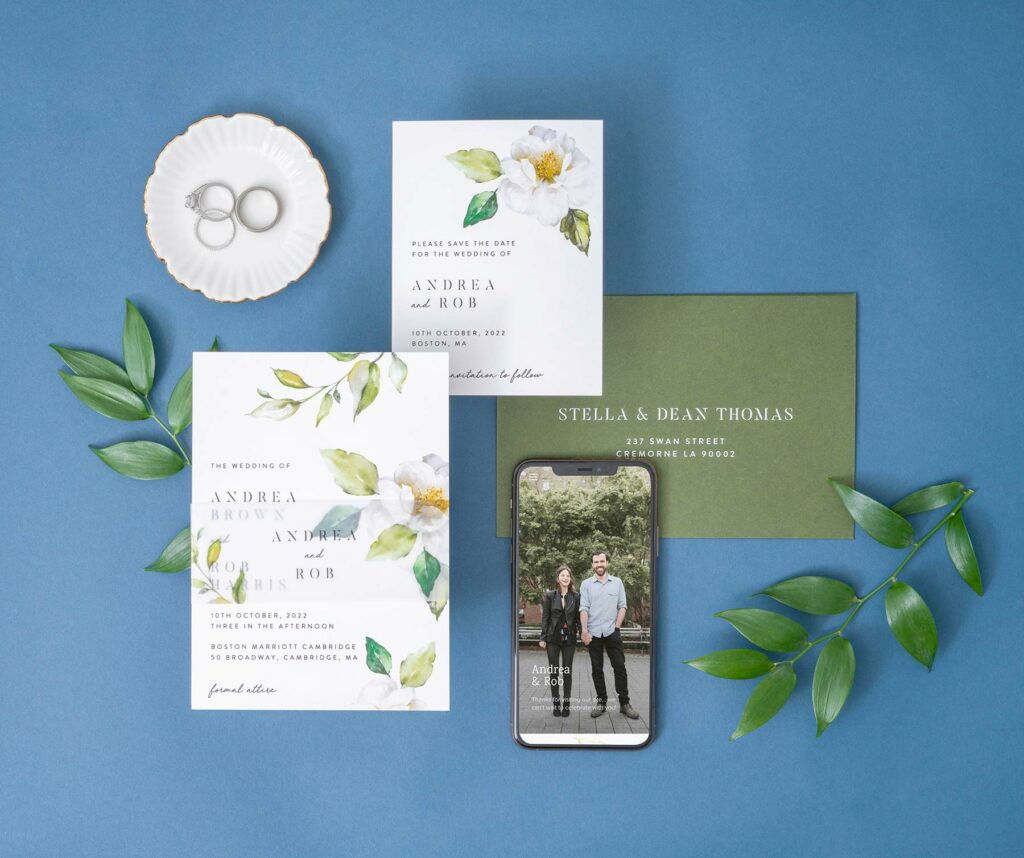
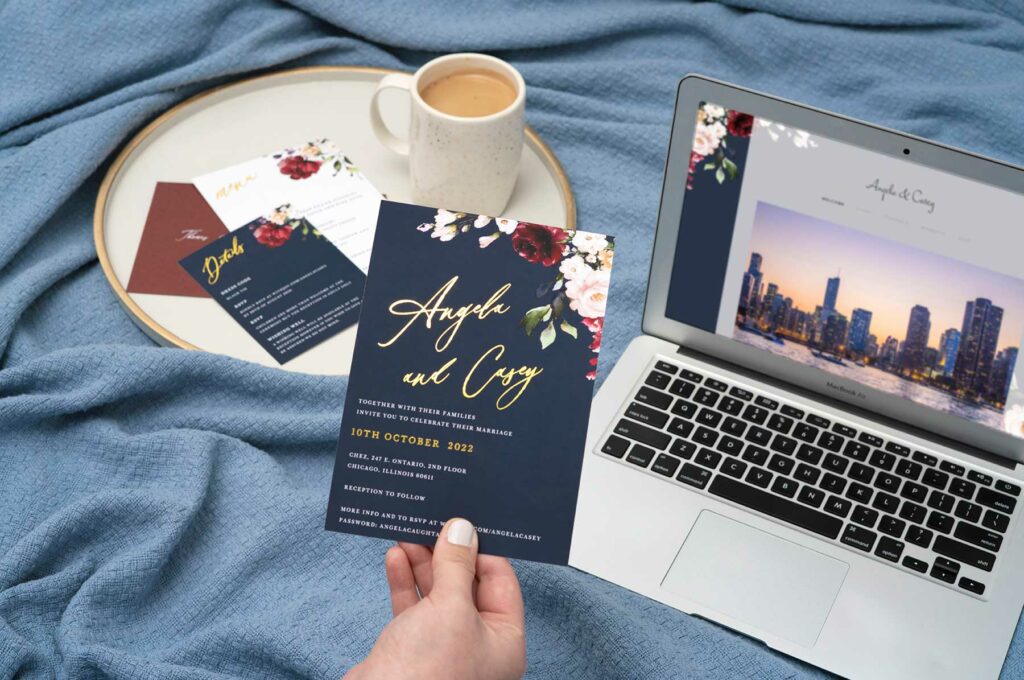
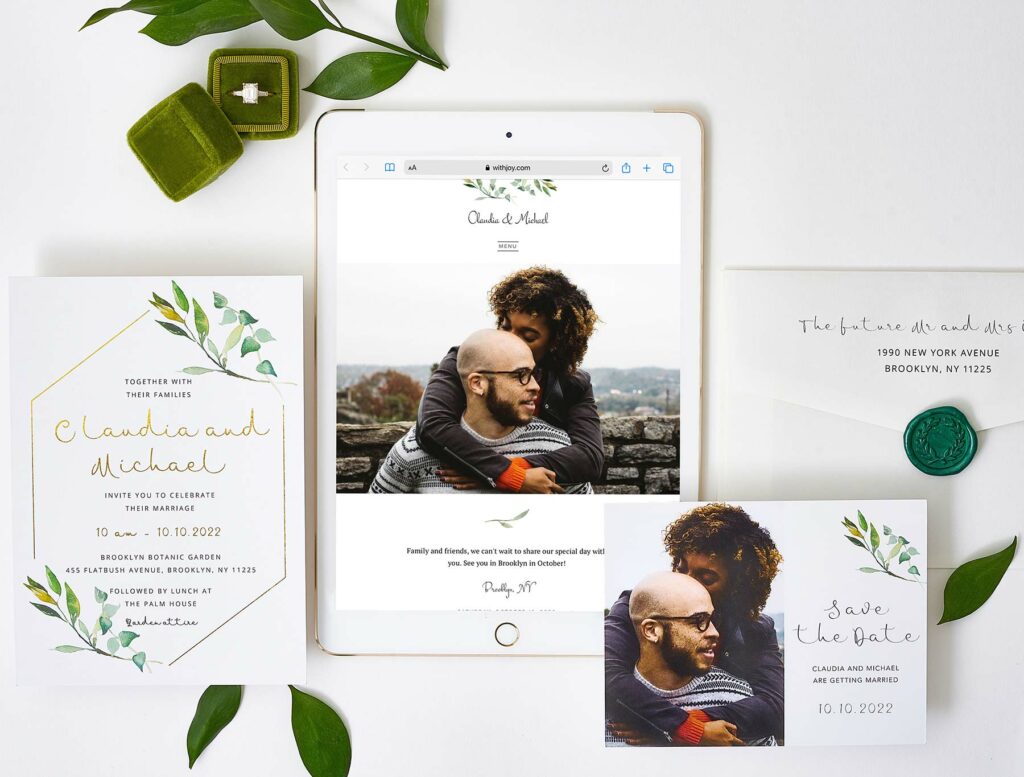
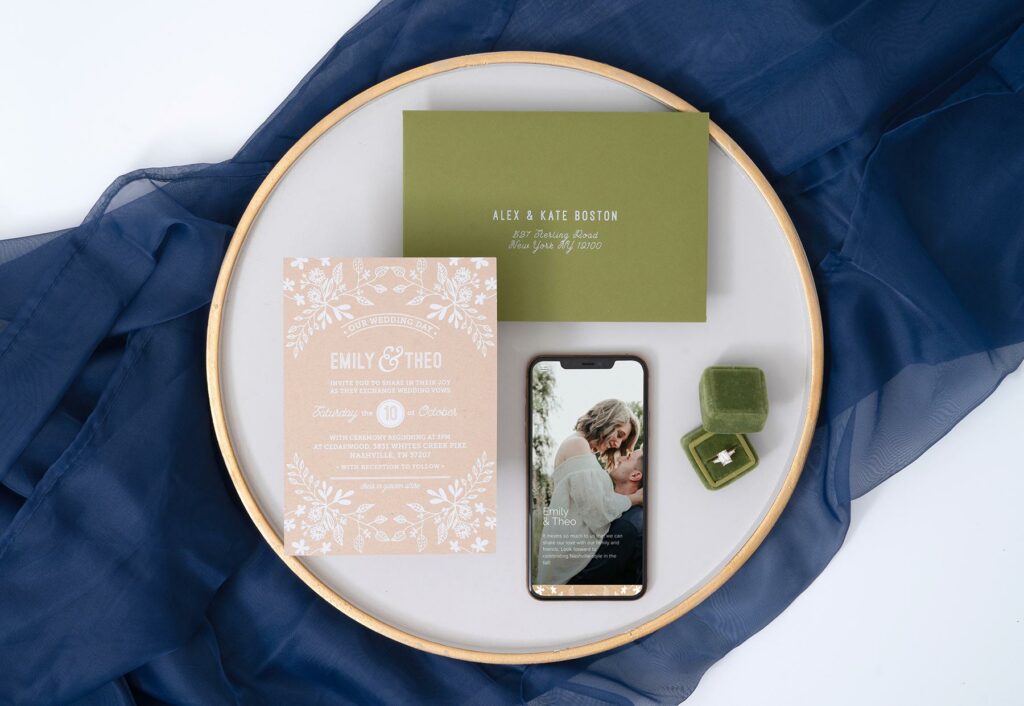
Match the design to your wedding website for a cohesive look.
If you want to create a seamless aesthetic across all your wedding, Joy offers wedding websites that have coordinating save the dates and invitations. You can order matching stationery as virtual cards or prints to create a cohesive guest experience from your announcement all the way up to “I do.”
Save on postage with standard-size invitations.
If you’re hoping to make postage a breeze by using a first-class Forever stamp on your wedding invitations, opt for a 5-by-7-inch invitation. This is standard size for wedding invitations, and you’ll typically be able to mail it using a single postage stamp, depending on how many insert cards you include. Keep in mind that while chic, square envelopes incur an additional fee for mailing on top of postage required for the weight of your invitation.
Wedding Invitation Etiquette Tips
No one wants to be the couple that commits a wedding faux pas — especially not before the big day even arrives. Follow these easy tips to take the stress out of sending your wedding invitations.
Address your invitations properly.
Though it may seem straightforward, how you address your envelopes can surprise or slight your guests. The outer envelope will typically contain the first and last names or the family name of invited guests as well as titles, depending on the formality of your event. Plus-ones and children’s names are usually included only on the inner envelope, if you are using one. Click here for a complete guide to addressing your wedding invitations.
Understand who receives an invitation.
If you sent someone a save the date, etiquette dictates that they should also receive an invitation — even if they may have already sent regrets. When it comes to families, you only need to send one invitation per household, unless there are adults 18 or over living under the same roof as their parents. In that case, they should receive a separate invitation addressed to them.
Including a self-addressed stamped envelope with your response card if you are expecting RSVPs via mail.
It’s common courtesy to include an envelope addressed to you with a postage stamp with your RSVP card. This makes it easy for guests to simply accept or send regrets and drop the card in the mail. If you’re hoping to avoid the extra cost of postage, consider collecting digital RSVPs from your Joy wedding website. The guest list manager makes it easy to track RSVPs and communicate with loved ones who still need to send in their response.
Include an RSVP deadline.
Don’t leave this up to chance. Include clear instructions on your RSVP card about when you need a response. RSVP deadlines are typically set anywhere from two to four weeks before your wedding. When setting this date, keep in mind that you should give guests around four weeks to respond after they receive the invitation. If you anticipate late RSVPs (which you should!), allow for an extra week when setting the deadline. After this grace period, you can definitely follow up with guests so you can get an accurate headcount.
Up Next:
Wedding Invitations with Online RSVP
Whether you send traditional paper invitations or go paperless, you can easily collect RSVPs online.